ROBLOX Mall — Map Guide
Verified ROBLOX Mall map facts, supported modes, release history, layout signals, hazards, and practical routing advice.
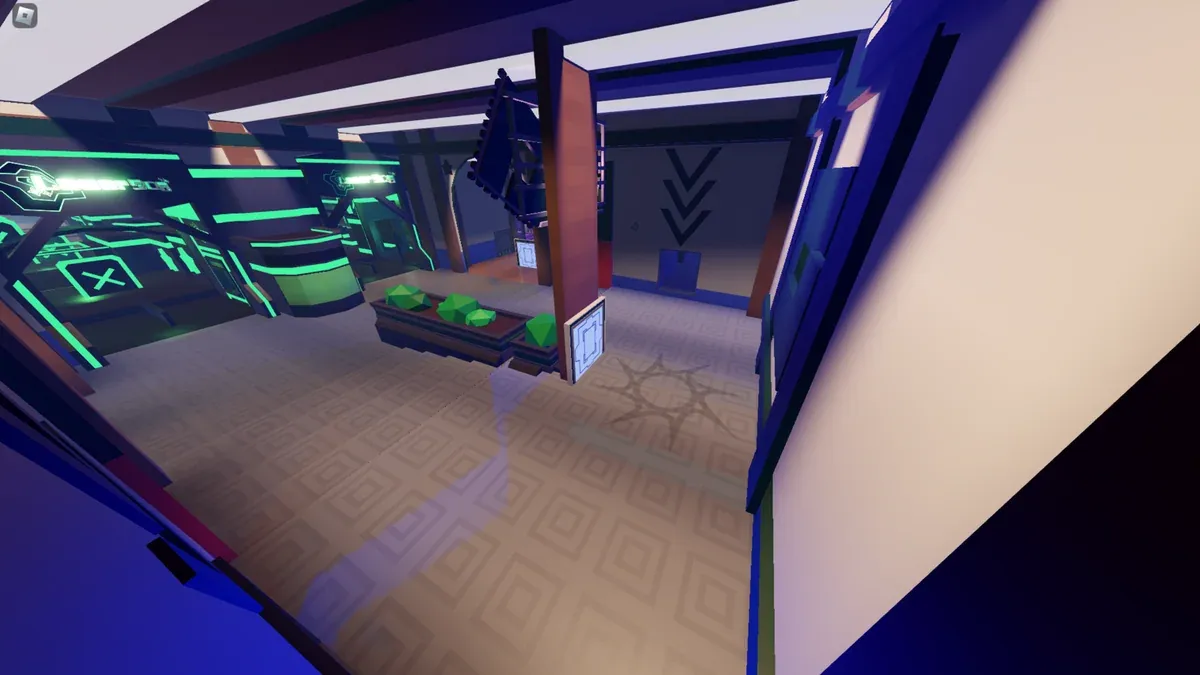
Source status: Facts on this page were checked against the official PHIGHTING! Wiki page (revision 57406) on 2026-09-29. Values and availability can change; the live game remains authoritative.
Verified map record
| Field | Official Wiki record |
|---|---|
| Supported modes | Conquer |
| Version added / reworked | Playtest 2 V0.3.0 (summer variant) V0.5.0 (rework) V0.8.0 (remaster) |
| Creator credits | Roxie, dancie |
| Music | “ SHOPPING! “ - Key After Key “ LIGHTS OUT “ - Key After Key ( One Minute Left ) |
Layout and combat signals
- Open space makes exposed rotations easier to punish.
- Corridors create predictable approach angles.
- The void makes knockback and route control especially important.
- Launch or trampoline movement creates vertical entry options.
These details make the page more than a name list: before a match, identify the objective route, a protected regroup route, and one alternate angle. Do not treat a high position as automatically safe—check whether it has cover and a retreat path.
How to play ROBLOX Mall
- Leave spawn with the team and identify which route reaches useful cover first.
- Contest space that controls the objective instead of chasing into the enemy side.
- Assign mobile Phighters to alternate routes while ranged pressure watches exposed crossings.
- Reset together after a lost fight; staggered re-entry gives away the map advantage.
Continue with movement fundamentals, advanced positioning, and the map directory.
Related Articles
characters
Ban Hammer — Abilities, Strategy, Skins & Lore
Ban Hammer PHIGHTING! profile with role basics, strategy, matchups, verification notes, and links to current sources.
characters
Biograft — Abilities, Strategy, Skins & Lore
Biograft PHIGHTING! profile with role basics, strategy, matchups, verification notes, and links to current sources.
characters
Boombox — Abilities, Strategy, Skins & Lore
Boombox PHIGHTING! profile with role basics, strategy, matchups, verification notes, and links to current sources.
Was this helpful?
Thanks for the feedback!